How to create a quiz form with time limit
With Minform, creating time-bound quiz forms is super easy and powerful. Whether you're building school assignments, fun challenges, or competitive tests — you can add a countdown timer, auto-score answers, and even email the final score to respondents.
In this guide, we'll walk through:
- Setting up a quiz form with a time limit
- Assigning scores using smart calculations
- Create a custom page to display final score.
- Sending the final score via email
1. Create your quiz form
Start by creating a new form and adding your quiz questions. You can use multiple-choice, short text, dropdown, etc.
You also need to create an intro page to describe about the quiz and to start the timer and if you want to send final quiz score to respondent you need to collect email address via email field.

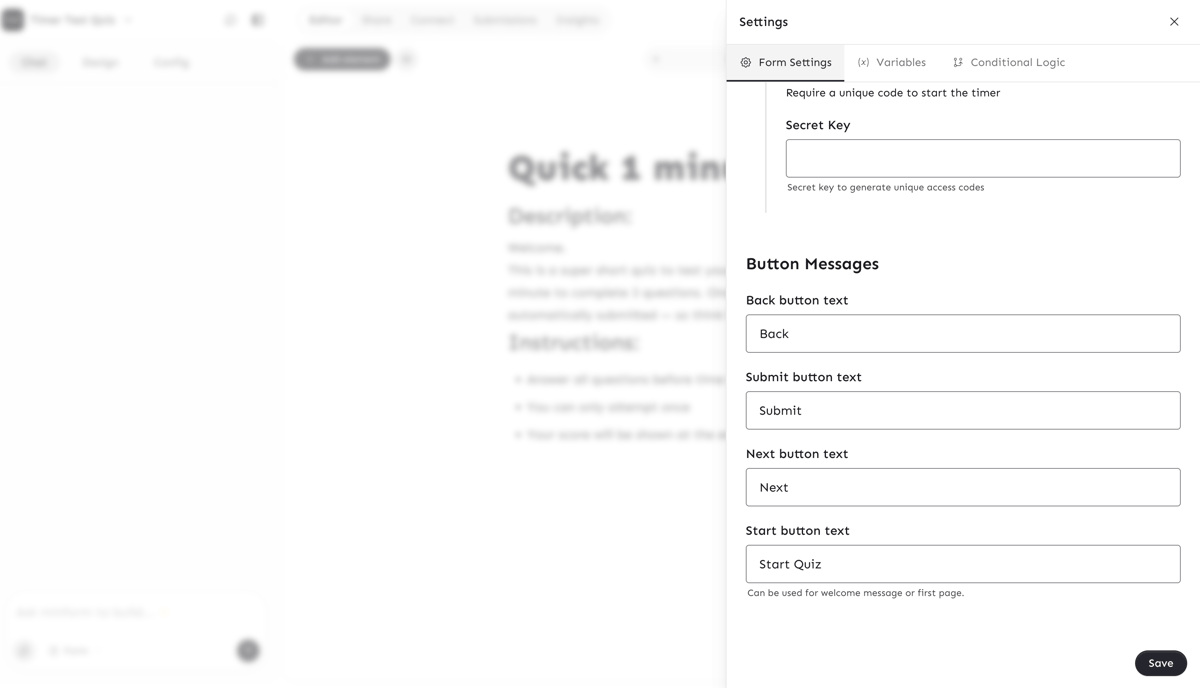
For intro page you also need to edit the button text which you can do via form settings (click on gear icon on top right).
2. Enable timer
- Click on the gear icon on toolbar to open form settings dialog.
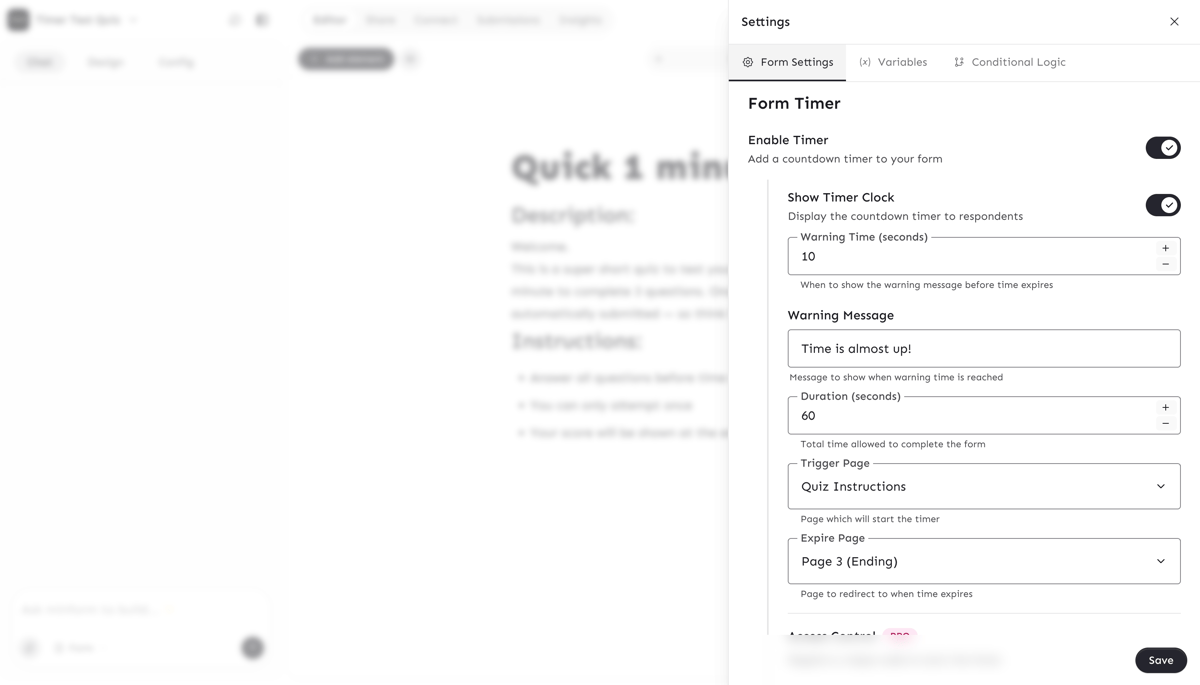
- Scroll down to the Form Timer toggle and enable it.
- Timer comes with many settings which by default already filled. Make sure to also enable
Show Timer Clockswitch.
Once enabled, the timer will appear on top-right of the form and start counting down as soon as the user click on intro page button.
Note: When the timer starts, if the respondent is unable to complete the quiz within the given timeframe, the form will auto-submit with whatever answers the respondent has completed so far.
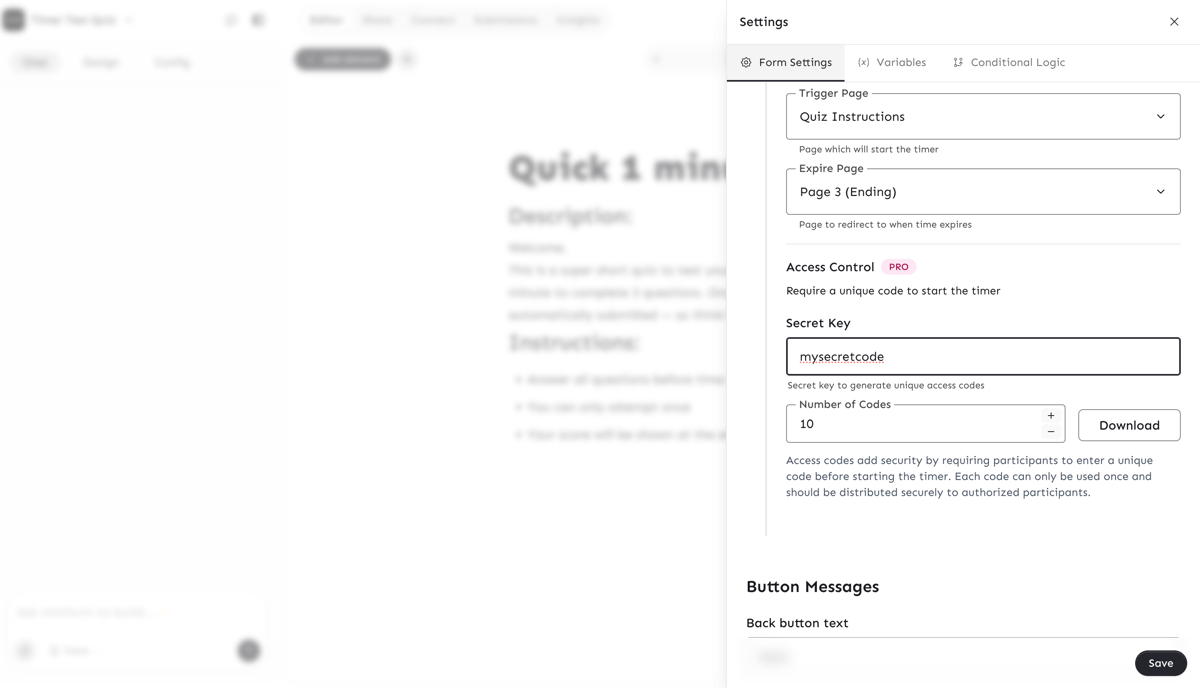
For paid plan users, there is an advanced option to restrict the timer forms with access codes which you can generate right there. The idea is to allow respondent to only fill the form if they have access code. You can generate as many access codes you want via secret key.
3. Add Scores to Answers (Smart Calculations)
You can assign points to each answer and calculate the score dynamically. Check out the video.
4. Add custom page to display score
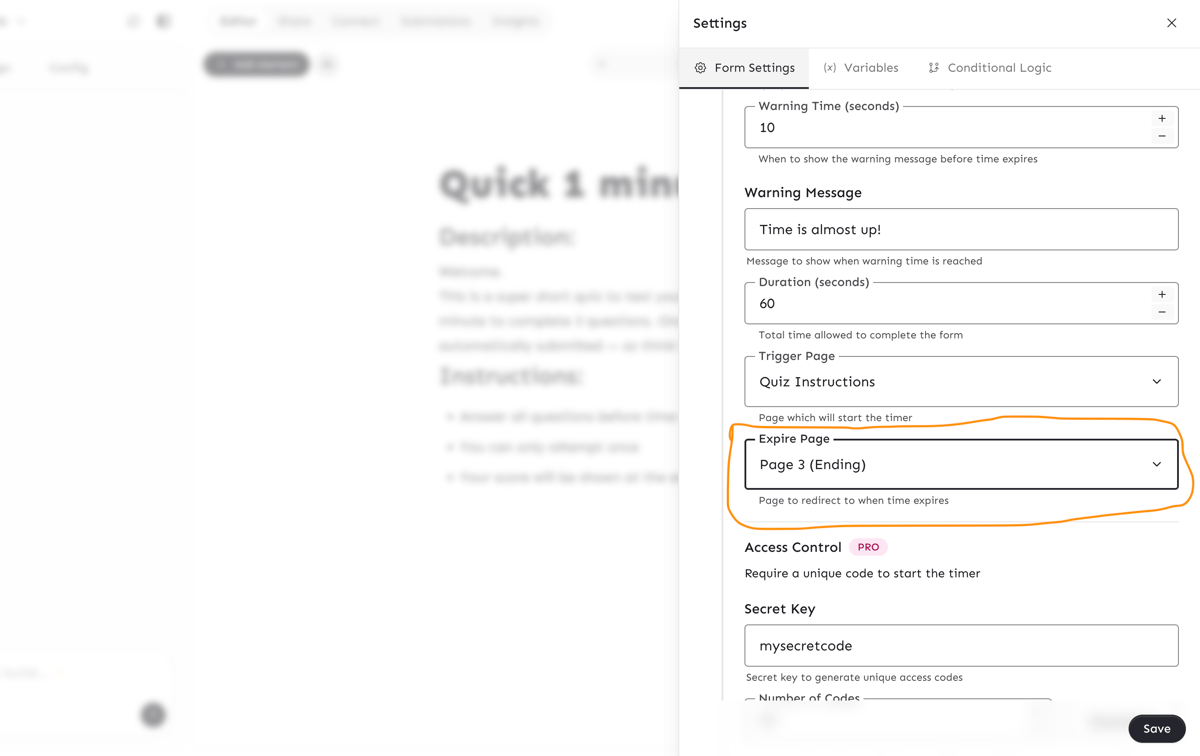
You can create a custom page to display final score of respondent. To do that, just create a new page and mark it as end page.
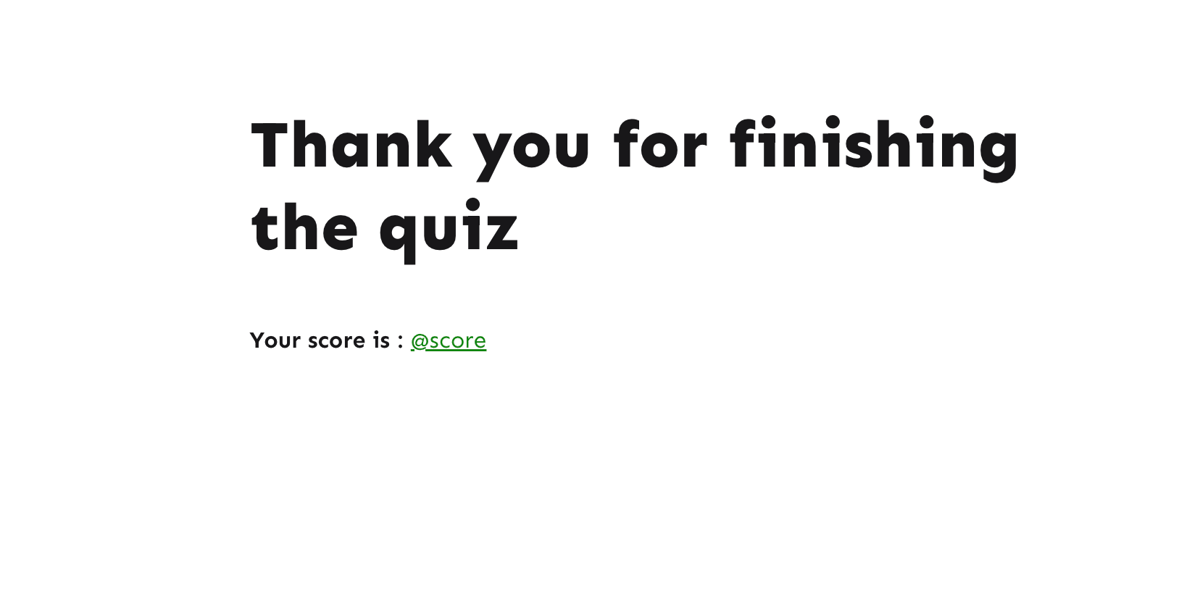
Also make sure to set this page as expire page form timer settings.
You can also use conditional logic to display different messages depending on score ranges — for example:
- "Great job" if score > 40
- "Keep practicing" if score < 40
4. Email the Final Score to Respondents
You can email the respondent their score instantly using the Email Address integration. For this, you need to collect their email address in the form.
We recommend adding a Short Text field for the email address on the Intro (first) Page.
Once that done:
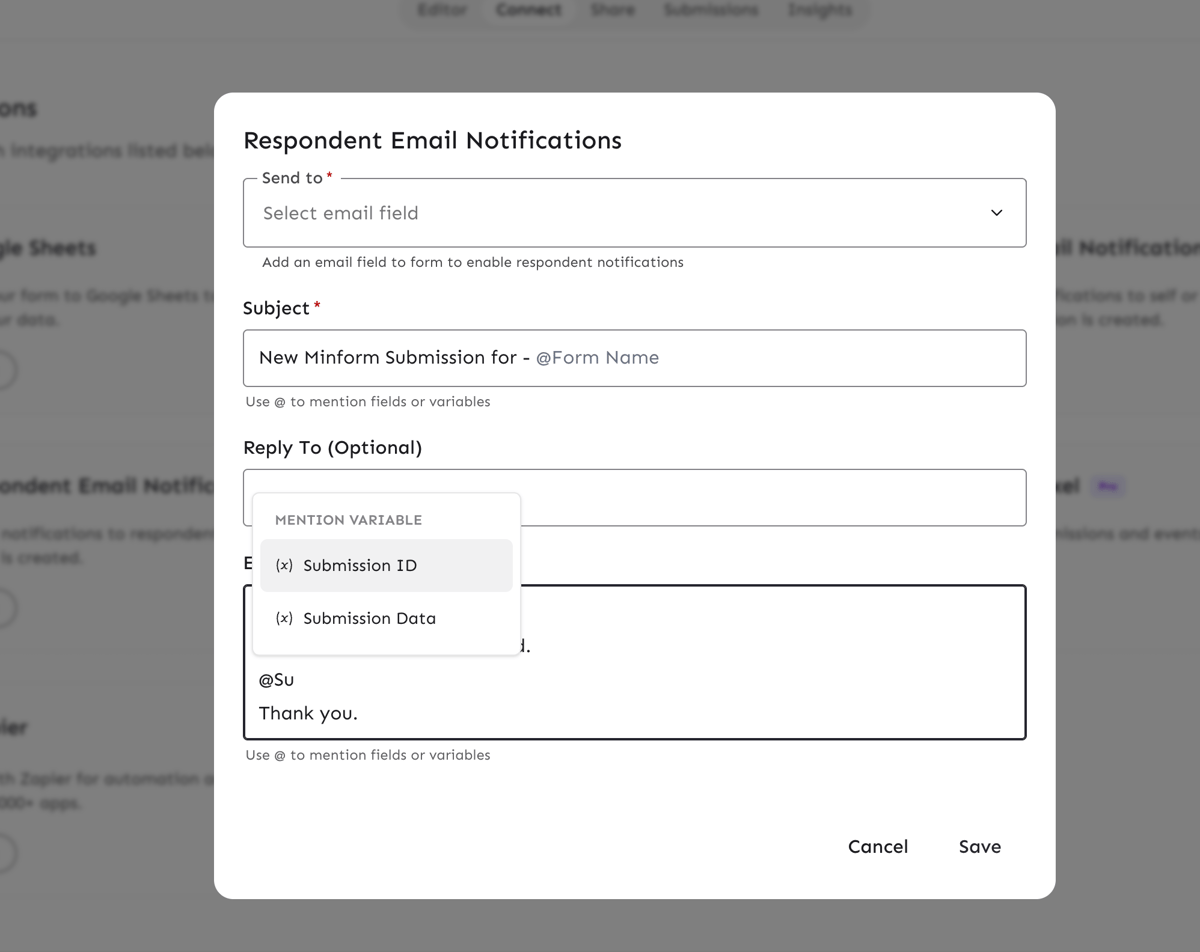
- Go to the Connect tab of your form and click Email Notifications.
- Under Respondent Email Notifications, click to configure.
- Send to : Select the email field from your form. If your form doesn't have an email field yet, add one so respondents can enter their email address.
- Subject : Enter a subject line. You can use
@to insert dynamic variables like@Form Name. For example:New Minform Submission for - @Form Name. - Reply To (Optional) — Add a reply-to address if you want respondents to be able to reply to the email.
- Body : Write your email message. Use
@anywhere in the subject or body to open the Mention Variable picker, which lets you insert dynamic submission data into the email.
That’s it. Now every user will receive a personalized email with their quiz result.